
Imagine this: you’re finally pulling into your driveway after a long day, feeling the familiar relief of being home. You reach for your remote, ready to disarm your car’s alarm, but nothing happens. The remote, your trusty companion, is lifeless. Panic sets in! It’s a scenario that every Viper alarm owner dreads. But fear not, because understanding how to program your Viper remote control can save you from a lot of frustration and potential anxiety.

Image: cokins51114.blogspot.com
Programming your Viper remote isn’t rocket science, but it does involve a specific sequence of steps and familiarity with your alarm system’s model. With the right instructions and a bit of patience, you can quickly regain control of your car and the peace of mind that comes with it. This guide will walk you through the process, providing clear instructions and troubleshooting tips to ensure a successful programming experience.
Understanding Viper Remote Control Programming
Viper remote control programming involves synchronizing the remote transmitter with the alarm’s receiver unit. This process enables the remote to send signals that trigger actions like arming/disarming the alarm, unlocking/locking the doors, and even starting the engine (in certain Viper models). The programming procedure varies slightly depending on the specific Viper alarm model and remote you have.
Most Viper remotes rely on a “learning” process, where the receiver unit is taught to recognize the remote’s unique ID code. This is typically achieved by pressing combinations of buttons on the remote and the alarm’s control panel (or valet switch) within a specific time frame. The exact programming steps can be found in the user manual that came with your Viper alarm system.
A Detailed Guide to Programming Your Viper Remote
Step 1: Locate the Control Panel and Remote
First, you’ll need to locate the control panel of your Viper alarm system. This is usually found inside your car, often near the driver’s side dashboard. Your remote should be easily identifiable by the Viper logo and the buttons for the desired functions (e.g., arm, disarm, trunk release).
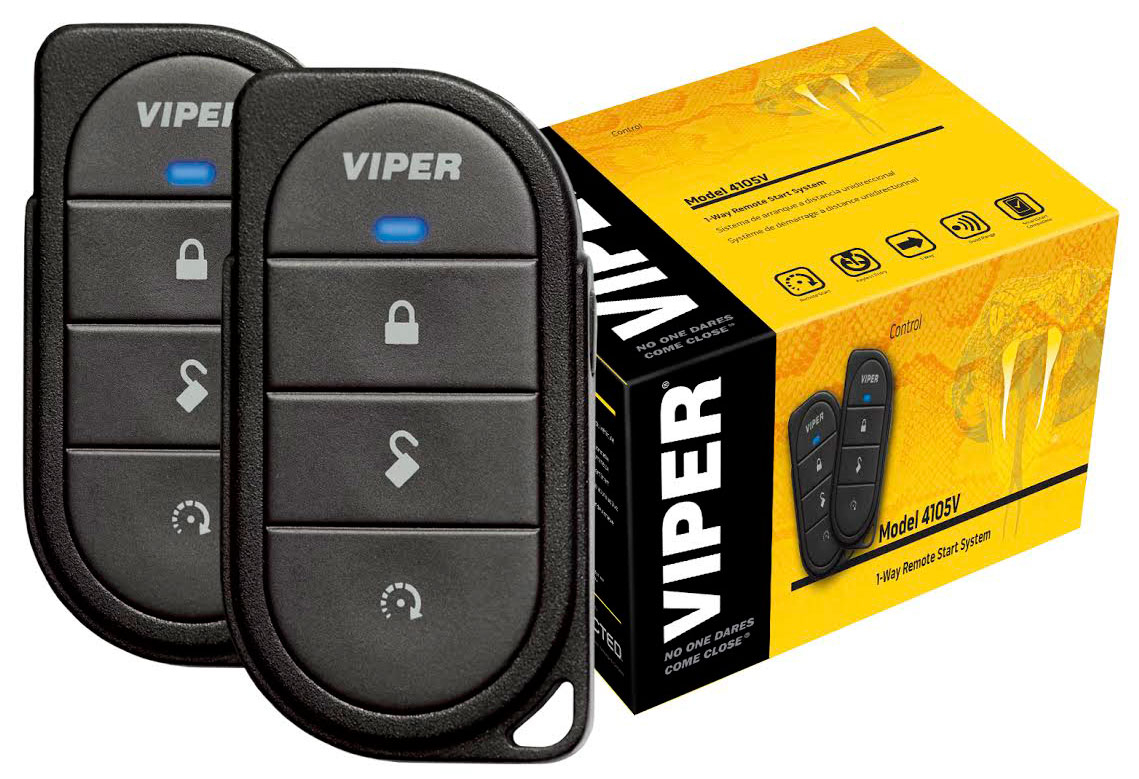
Image: www.abt.com
Step 2: Entering Programming Mode
Find the programming instructions specific to your Viper system in the user manual. This will typically involve a sequence of button presses on the control panel. For example, it might require pressing and holding specific buttons or entering a specific code.
Step 3: Pairing the Remote
Once you’ve successfully entered programming mode, you’ll need to pair your remote. This often involves pressing a button on the remote (like the “arm” button) within a short time frame. The control panel will usually flash or beep to indicate successful pairing.
Step 4: Testing and Confirmation
After pairing the remote, it’s essential to test it. Try arming and disarming the alarm, locking and unlocking the doors, and any other functions your remote is programmed for. If it works correctly, you’ve successfully programmed your Viper remote. If you encounter issues, review the user manual carefully and ensure you followed each step precisely.
Step 5: Troubleshooting Tips
If you’re experiencing difficulties programming your remote, here are some common troubleshooting tips:
- Check the Remote Battery: A weak battery can prevent the remote from transmitting signals effectively.
- Ensure Clear Line of Sight: Make sure there’s no obstruction between the remote and the control panel.
- Review the User Manual: The manual often provides solutions for common programming issues and other troubleshooting steps.
Advanced Tips and Considerations
While the basic programming process is fairly straightforward, advanced features like remote start and other customizable options might require additional programming. Refer to your user manual or consult a professional installer for guidance on these specific procedures.
If you have multiple Viper remotes, you’ll need to program each one separately. Keep in mind that programming details can vary between different Viper models, so always refer to the manual specific to your system. It’s also a good idea to program a spare remote as a backup in case your primary remote malfunctions.
Common Viper Remote Programming FAQs
Q: What happens if I program a remote incorrectly?
A: If you make a mistake during the programming process, the remote might not pair with the alarm system properly. This means it won’t function and you’ll need to restart the entire process.
Q: Can I program my Viper remote myself, or do I need a professional?
A: You typically can program your remote yourself if you understand the steps and have your user manual handy. However, for complex models or if you encounter persistent programming issues, seeking the help of a professional is recommended.
Q: What’s the difference between a Viper remote and a regular car key fob?
A: While both function as keys, a Viper remote is specifically designed for an aftermarket alarm system. A regular car key fob is an integral part of your factory-installed ignition and alarm system.
Q: How often should I replace my Viper remote battery?
A: Battery life can vary depending on usage patterns, temperature, and battery quality. As a general rule of thumb, replace the battery every 12-18 months.
How To Program A Viper Remote Control
Conclusion
Mastering how to program your Viper remote is a valuable skill for any car owner with a Viper alarm system. By following the steps outlined in this guide and consulting your user manual, you can confidently overcome any remote programming challenges. Now, you can rest assured that you’ll always be able to access your car and enjoy the peace of mind that comes with a reliable alarm system.
Have you ever had to program your Viper remote, or found yourself fumbling through the process? Share your experiences in the comments below. We’d love to hear your tips and advice!


